Table of Contents
Visit the System Requirements page to ensure that your computer meets the necessary hardware requirements to install and run Xubuntu. In general, Xubuntu will run on most computers (PC or Mac) that were built since 2007 and shipped with an OS (Operating System) like Windows XP and Mac OS X 10.5 or higher.
![[Note]](../../libs-common/images/note.png)
|
|
|
If you are installing Xubuntu on a laptop, it is recommended to keep your laptop plugged in during the installation, in order to prevent a sudden power loss which can cause a corrupted system. If you are running Windows 10 and have Intel's RST (Rapid Storage Technology) running, you will need to turn it off before installation. |
Visit the Download page to download the ISO image for your selected edition of Xubuntu. If you prefer stability, it is recommended to download the LTS (Long Term Support) release, which is supported for 3 years. The ISO file can be downloaded with a BitTorrent client, such as Transmission or qBittorrent, or through your browser from one of the many global mirror servers.
The ISO file needs to be written to a bootable medium, like a USB flash drive, an SD memory card or a DVD optical disk.
If you have a USB stick or an SD card with 2 GB of storage or more, you can use one of these apps to write the ISO file:
Rufus (Windows), Etcher (Windows, Mac, Linux),
GNOME Disks (![]() gnome-disk-utility
gnome-disk-utility
If you have a blank DVD disk and a DVD writer drive, you can burn the ISO with one of these apps, if your
operating system doesn’t have the built-in capabilities to do so:
InfraRecorder (Windows),
Brasero (![]() brasero
brasero![]() xfburn
xfburn
Some computers may require additional configuration before the Xubuntu installation medium can be booted. Please refer to this section if you are unable to boot into the installer or if your hardware is not properly detected.
Warning: This is an advanced computer feature and should only be attempted with caution.
![]() F2 and
F2 and ![]() Del are common keys to access the BIOS settings.
Del are common keys to access the BIOS settings.
Intel RST
macOS T.2 Security

Insert the bootable medium into the respective device (the USB drive in a USB port, the SD card in the SD card reader
or the DVD disk in the DVD drive) and restart your computer. If your computer is set to first boot from the bootable medium
of your choice, then the medium will automatically boot. If it doesn’t start automatically, please refer to the computer
manufacturer’s documentation for entering the boot menu. This could consist of pressing a key, such as ![]() F12,
or using a dedicated button on the computer. In some cases, you may need to boot into Windows to access the BIOS. Once you
have entered the boot menu, select the appropriate boot medium device.
F12,
or using a dedicated button on the computer. In some cases, you may need to boot into Windows to access the BIOS. Once you
have entered the boot menu, select the appropriate boot medium device.
|
|
|
|
The key to press for your computer’s boot menu will depend on the manufacturer of the computer or motherboard.
|
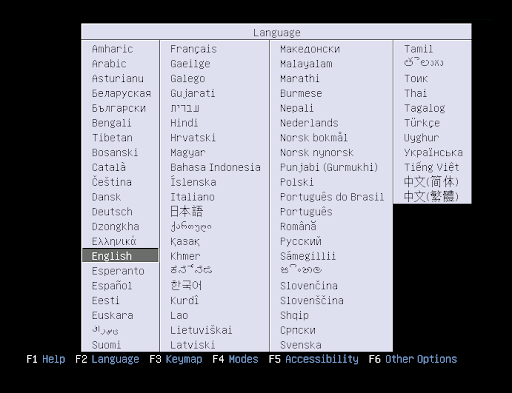
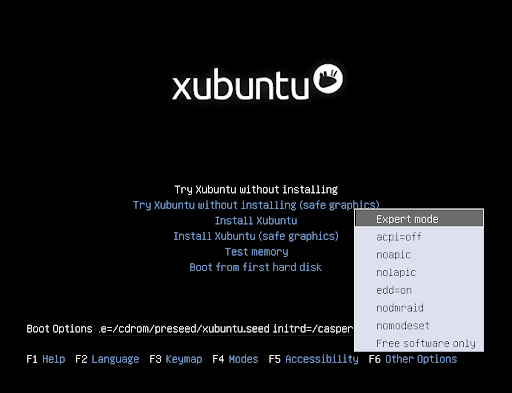
Once the bootable media starts, a blank screen will appear with a keyboard and accessibility icons. At this point,
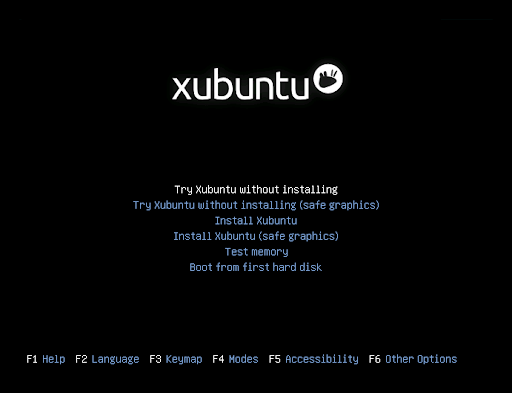
you have 5 seconds to press any key to access the installer boot menu, if you wish to. The boot menu will initially present
a language selection menu, followed by a simple menu with options to install or try Xubuntu, test memory, boot from the
hard disk, as well as other options accessible by pressing the ![]() F1 through
F1 through ![]() F6 keys (for
more information about the Fn keys options, click here).
F6 keys (for
more information about the Fn keys options, click here).

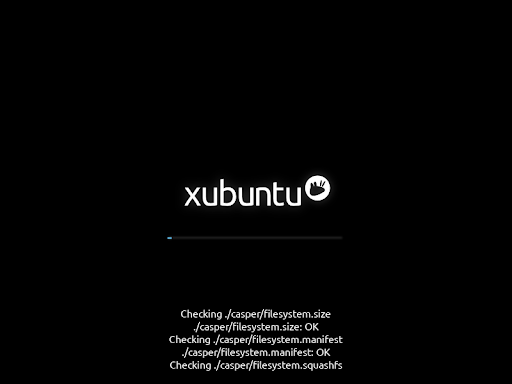
After the initial boot screen, releases of Xubuntu 20.04 and later default to checking the integrity of the install
media, which can be skipped by pressing ![]() Ctrl+C. This check is important as it is common for corrupted
installation media to cause failed installations.
Ctrl+C. This check is important as it is common for corrupted
installation media to cause failed installations.
|
|
|
|
If you get a black screen after the integrity check, reboot your system and select one of the safe graphics options in the GRUB menu. This sometimes happens when graphics cards don’t work properly with their open source drivers. If this happens after installation with your NVidia graphics card, select the ‘recovery mode’ option in the GRUB menu and then install the proprietary NVidia graphics driver from the Additional Drivers app. |

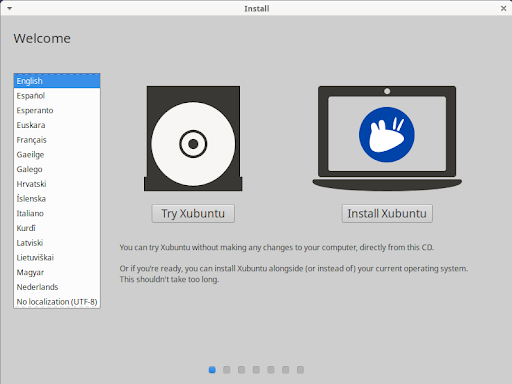
You will be greeted with the installer’s welcome screen when the installer begins. There you can select the language of the installer from the list on the left and press the button to begin the installation process.
|
|
|
|
If you selected one of the Try Xubuntu ... entries in the installer boot menu or the button on the welcome screen, you can start or restart the installer by clicking the Install Xubuntu desktop icon. |
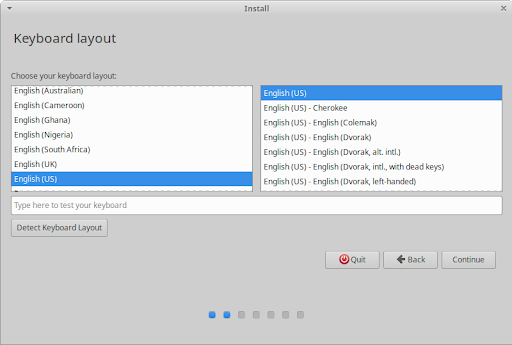
The next screen of the installer will be the Keyboard layout screen. There you can select your keyboard layout, if it wasn’t correctly detected. If you are unsure of your keyboard layout, you may press the Detect Keyboard Layout button to go through a brief configuration procedure and test that the layout works as intended in the keyboard test field. Click the Continue button to proceed.
If you are not connected to the internet but your computer has Wi-Fi, you will see the Wireless screen, where you can either connect to one of the available networks or continue without connecting.
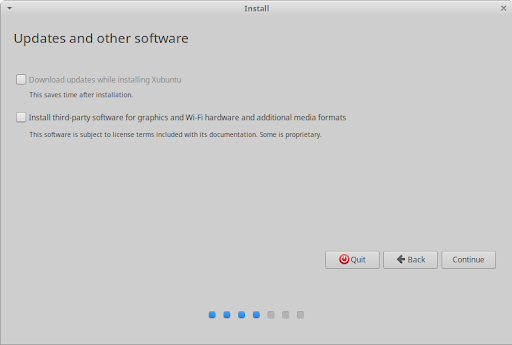
After clicking the button, you will arrive at the Updates and other software screen. There you have the options to download updates during the installation, if you have an internet connection, and whether to install third-party software, like the Nvidia graphics card driver and multimedia codecs for playing media files. It is recommended to have both of them checked.
|
|
|
|
Note: If was disabled or unselected, you can
run the Software Updater application after the installation. If
was
unselected during installation, you can open the Software & Updates app after the installation,
enable the repository on the Ubuntu Software tab,
and then install the drivers on the Additional Drivers tab to install drivers. You would also need
to install the |
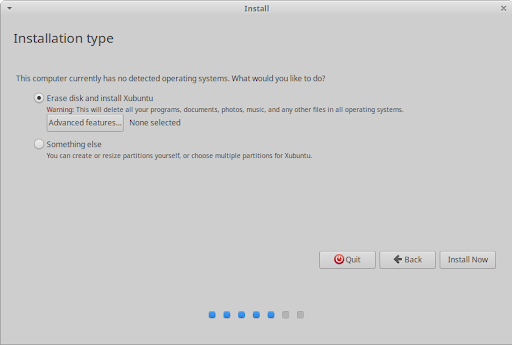
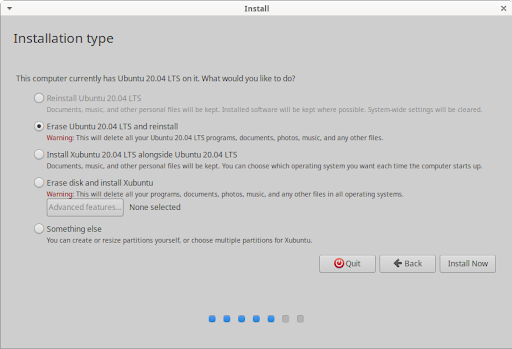
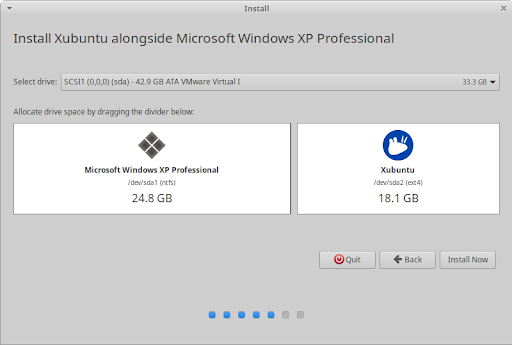
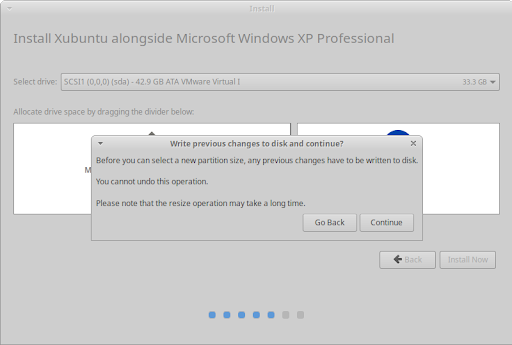
The next screen of the installer is the Installation type screen, which will vary in its list of installation and reinstallation options depending on which operating system(s) are currently on your hard disk. Regular users are recommended to choose either Erase disk and install Xubuntu, to completely wipe the disk and install Xubuntu as the only OS, or Install Xubuntu alongside [OS], to create a dual boot setup with Xubuntu and an existing operating system ([OS] is the existing OS, e.g. Microsoft Windows XP Professional in the screenshot). Advanced users can choose the Something else option, which gives them the ability to create, format, delete and assign partitions.
If you choose to install Xubuntu alongside another existing operating system, you will be given the option to adjust how much hard disk space Xubuntu will use after you click the button.

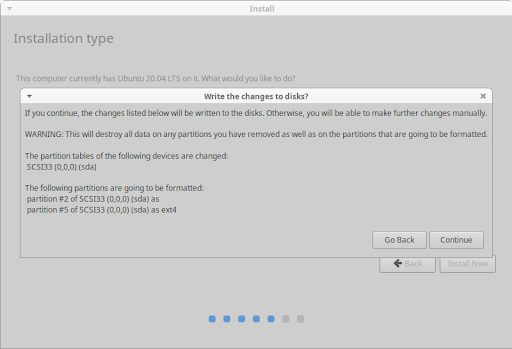
When clicking the button, the installer will show a confirmation dialog before it makes non-reversible changes to your hard disk's partitions and data. Read the changes carefully and, if you agree, click the button.
The next screen of the installer will be the Where are you? screen. There you can type the name of the town or city in the text field or click on the map to select your time zone. If you are connected to the internet, your location will be automatically detected. Click the button to proceed.
At the Who are you? screen, once you enter your name, a computer name and username will be automatically suggested. You can change both as you prefer. The computer name, aka hostname, is the name your computer will have when it appears on the network, while the username will be your login and account name.
Next, enter a password, which will be evaluated, yielding a grade of 'short', 'weak', 'fair', 'good' or 'strong'. A strong password is one with a minimum of 8 characters, containing a mixture of uppercase letters, lowercase letters, numbers and symbols. It is highly recommended to use a strong password. You then have the option to select whether your computer will require you to type your password to log in when you first turn it on or have it log in automatically. You will always be required to type your password if you lock your computer or if the screen times out due to inactivity.


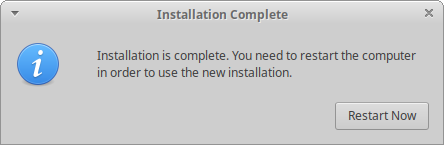
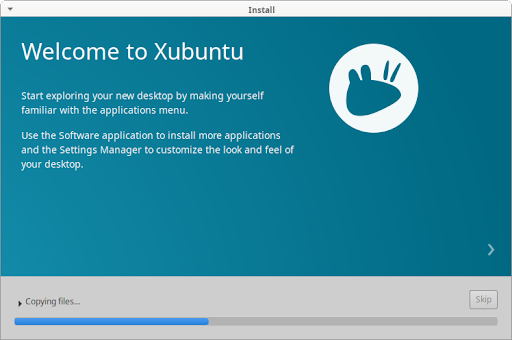
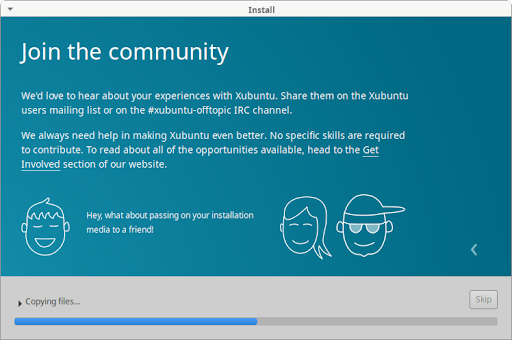
The installer will now begin installing Xubuntu in the background. While this is happening, installation slides will teach you a little bit more about Xubuntu, its support channels and community.
Congratulations! You have successfully installed Xubuntu and now it’s time to start enjoying it. Once the computer restarts, you will either be automatically started into Xubuntu and see the login screen or, if you have multiple operating systems installed on your hard disk, the GRUB boot menu, which lets you choose between starting Xubuntu or another installed OS.
 |
 |
|
| Chapter 1. What is Xubuntu? |

|
Chapter 3. Introduction |